WSL2 was released yesterday along with Windows10 May 2020 update (v2004). WSL2 enables to work with Linux kernels within Windows, and it brings some crazy possibilities for those of us who refuse to dual boot or switch over completely to Linux.
I am assuming that you already have installed Windows v2004 through the normal Windows update channel, or through the update assistant.
Once you are on Windows10 2004, here’s how you can setup a cool WSL2 development environment.
Installation
WSL2
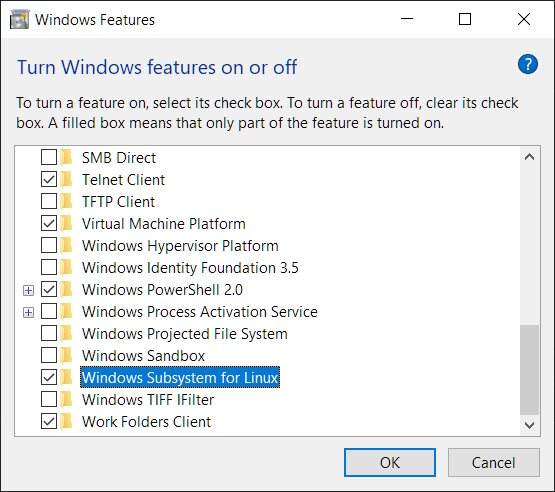
If you don’t have WSL yet, install it from Start > Turn Windows Features On or Off. Check Windows Subsystem for Linux. This should install WSL2. If you had WSL1 in previous Windows versions, the option will remain checked and you don’t have to do anything else.

Install Debian or Ubuntu from Microsoft Store.
If Debian/Ubuntu/other flavours were already installed on your computer (in WSL1), you would have to upgrade the kernel. Do that by following instructions on this page. Future upgrades may not need this manual step.
Verify whether you are running the right version of the kernel -
wsl -l -v

  NAME      STATE           VERSION
* Debian    Running         2
Version 1 will imply that you are still running WSL1, else you should be all set with WSL2.
Terminal
Install Windows Terminal from Microsoft Store if you don’t already have it. While this is optional, the app makes for a delightful terminal experience.
Of course, you can always continue to use Cmder, or any other emulator.
Once Terminal is installed, open Terminal > Click on the dropdown in Toolbar > Open Settings. You add instructions to open command prompt, Powershell or WSL in the settings file. You can also change themes, colors or fonts for Terminal window.
Add an entry for Debian under Profiles-
{
    "acrylicOpacity": 0.5,
    "closeOnExit": true,
    "colorScheme": "One Quarter Dark",
    "commandline": "wsl.exe -d Debian",
    "cursorColor": "#FFFFFF",
    "cursorShape": "bar",
    "fontFace": "Consolas",
    "fontSize": 16,
    "guid": "{58ad8b0c-3ef8-5f4d-bc6f-13e4c00f2530}",
    "historySize": 9001,
    "icon": "ms-appx:///ProfileIcons/{9acb9455-ca41-5af7-950f-6bca1bc9722f}.png",
    "name": "Debian",
    "padding": "0, 0, 0, 0",
    "snapOnInput": true,
    "useAcrylic": false
},
Note the change in colorScheme - you may use any color scheme that is already part of the settings.
The settings file I use is at this Gist.
You are now all set to access WSL2 from your terminal. Just click on the dropdown and select Debian profile to open WSL2.
Initial Setup
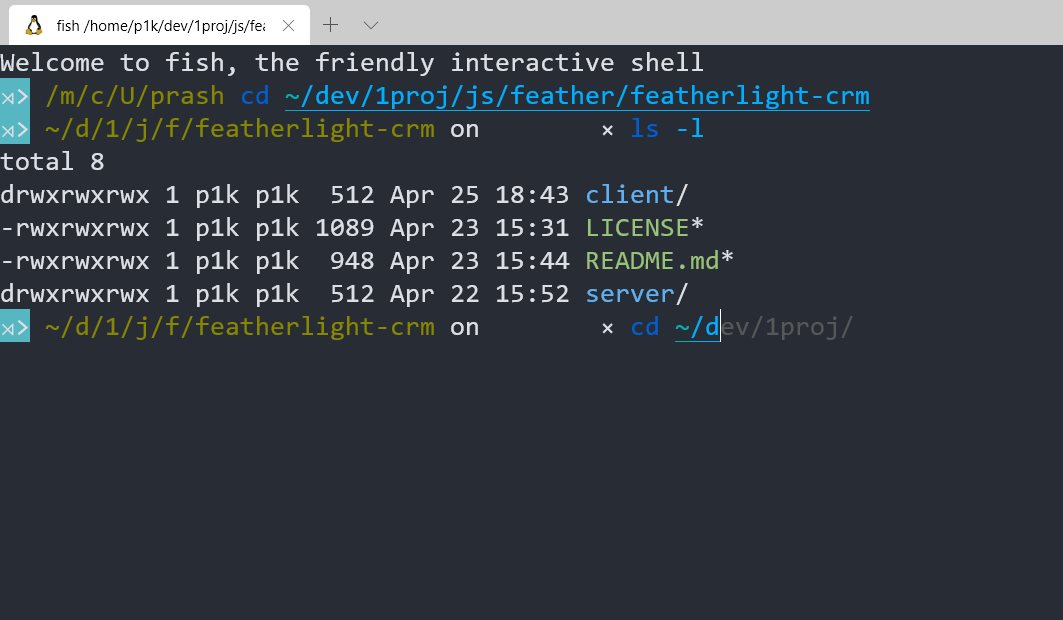
I love to work with Fish shell since it has beautiful defaults that includes useful functions like auto complete, and an easy-to-use customiser (among others).
Install Fish.
echo 'deb http://download.opensuse.org/repositories/shells:/fish:/release:/3/Debian_10/ /' | sudo tee /etc/apt/sources.list.d/shells:fish:release:3.list
sudo wget -nv https://download.opensuse.org/repositories/shells:fish:release:3/Debian_10/Release.key -O "/etc/apt/trusted.gpg.d/shells:fish:release:3.asc"


apt-get update
apt-get install fish
See this page for more detailed instructions.
Optional: Change root password
If you have setup a non-root user (which you normally do during install) and already logged in as that user, or did not setup root password yet, you an do that now.
First, login to Windows command prompt and set default WSL user.
debian config --default-user root
.. or in case of Ubuntu..
ubuntu.exe config --default-user root
Open a new terminal to login as root. Change password.
passwd
Reset default user to your user id.
debian config --default-user <your_userid>
Exit from current terminal that is logged in as root and open a new window to just be yourself.
Configure fish shell
Change default shell to fish.
chsh -s `which fish`
Install oh my fish to make your shell beautiful.
curl -L https://get.oh-my.fish | fish
Now you can install themes or add new functions to fish.
omf list # list themes & plugins installed
omf theme # list themes
omf install clearance # install clearance theme
omf theme default # change back to default theme

Setup Your Favourite Programs
NVM / Node
We will not install Node directly, but use NVM.
First install NVM..
curl -o- https://raw.githubusercontent.com/nvm-sh/nvm/v0.35.3/install.sh | bash
You have to do an additional step for Fish shell since it not directly supported.
omf install bass
vi ~/.config/fish/functions/nvm.fish
Add the following content to file -
function nvm
    bass source ~/.nvm/nvm.sh --no-use ';' nvm $argv
end
Finally, install node.
nvm install 14.3
Set default node version in nvm to always use the latest version.
nvm alias default node
Node is now ready to do great things!
VS Code
Install Remote WSL extension.
Hit Ctrl + Shift + p > enter New Window using Distro. Select the Linux distro that you are setting up.
VSCode will automatically download and configure server to work within the distro, and open a new window specific to the distro.
You can now use VSCode to work with files within the Linux folders. You will see the default Fish shell when you open a new terminal within VSCode.
Docker
Docker runs 8-10x faster in WSL2 - there is simply no reason to postpone using Docker in Windows anymore :)
Install Docker for Desktop.
New installations do not require any additional steps. If you had an older version, follow instructions here to set everything up.
Code Away
Start working your magic in Linux in Windows!