Teleport is a new feature introduced in Vue 3. Teleport provides better control to developers on where exactly an element is rendered.
Get Teleporting
Let us create a new Vue 3 app to start playing around with teleport. We will use Vite, because it is 2021.
npm init @vitejs/app
Provide a project name (teleport) and select vue as the template.
Install dependencies and start the app.
cd teleport
npm i
npm run dev
Navigate to http://localhost:3000 to see your new app.
Replace the <template> section in src/components/HelloWorld.vue.
<template>
  <h1>{{ msg }}</h1>
</template>
Create a new component src/components/Messages.vue -
<template>
  <HelloWorld msg="Hello"></HelloWorld>
  <HelloWorld msg="Hi"></HelloWorld>
  <HelloWorld msg="Goodbye"></HelloWorld>
</template>

<script setup>
  import HelloWorld from "./HelloWorld.vue";
</script>
Replace <template> section in src/App.vue -
<template>
  <Messages></Messages>

  <img alt="Vue logo" src="./assets/logo.png" style="height: 100px" />
</template>
We are just rearranging a couple of things and setting the stage for demonstrating teleport.
You will see output as expected -

This makes absolute sense -
- You create a component and build up UI with components
- You use the components in the parent component/view exactly in the place you need it
Teleport helps us to write code in a logical fashion but have more control over where the component is rendered.
For e.g., we can change the code in Messages.vue to -
<template>
  <HelloWorld msg="Hello"></HelloWorld>
  <HelloWorld msg="Hi"></HelloWorld>
  <teleport to="#startapp">
    <HelloWorld msg="Goodbye"></HelloWorld>
  </teleport>
</template>
Now, change App.vue to -
<template>
  <div id="startapp"></div>
  <Messages></Messages>

  <img alt="Vue logo" src="./assets/logo.png" style="height: 100px" />
</template>
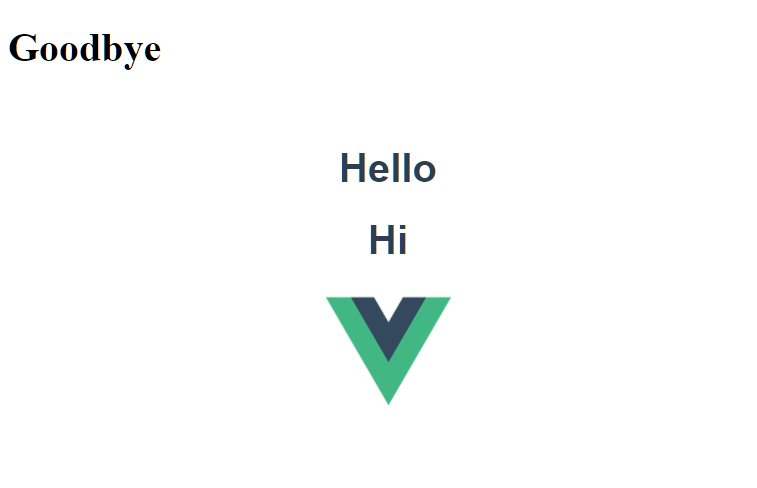
The third message is moved to the first position, i.e, the rendering of the component will be teleported to the tag with id startapp.
You may in fact transport anything outside of the entire Vue render tree. For e.g., change index.html to -
<!DOCTYPE html>
<html lang="en">
  <head>
    <meta charset="UTF-8" />
    <link rel="icon" href="/favicon.ico" />
    <meta name="viewport" content="width=device-width, initial-scale=1.0" />
    <title>Vite App</title>
  </head>
  <body>
    <div id="startapp"></div>

    <div id="app"></div>
    <script type="module" src="/src/main.js"></script>
  </body>
</html>

Where to use teleport?
Teleport offers a cleaner segregation from the “coding” side of things as compared to where a component/element is rendered.
Here are a couple of use cases where teleport can help-
- High degree of control over positioning of elements: Display elements like status bar always at the bottom of page - no matter where they are used. You are not constrained to code in those components at the very end
- Modals: You can have a conditional display of modal dialog anywhere in the app, but you may want to move it to end. Or, you may move a full-screen modal to the
bodytag and have a cleaner UI