Let us create a simple Todo app using Nuxt -
- PrimeVue for styling
- Store todos in a database
Setup
Ensure NodeJS is installed. Download and follow instructions here if you don’t have Node installed on your computer. I use pnpm as my package manager. You can use npm or yarn if you prefer. Install pnpm globally using the following command.
npm install -g pnpm
Create a new Nuxt project.
pnpx nuxi@latest init nuxt-primevue-todo
This command should initiate a project, install dependencies and also prompt you to initiate a git repository.
Next, install PrimeVue..
pnpm install primevue
..and follow instructions to enable PrimeVue for Nuxt.
While at it, let us also install a few additional libraries that will help with styling.
pnpm add primeflex primeicons
Add below content in nuxt.config.js to enable PrimeVue.
export default defineNuxtConfig({

// ...
css: [
    "public/themes/light/theme.css",
    "~/assets/styles.scss",
    "primeicons/primeicons.css",
    "primeflex/primeflex.css",
  ],

  build: {
    transpile: ["primevue"],
  },
modules: ["nuxt-primevue"],
primevue: {
    usePrimeVue: true,
    options: {},
    components: {
      prefix: "",
      name: undefined,
      include: "*",
      exclude: undefined,
    },
// ...
})
Note that we have included all primevue components in the components section. Typically you use include and exclude to be selective about the components to be included for the project.
Next, we will include some custom styling. Since I am lazy, I will get inspired by a free template provided by PrimeVue called SakaiVue
Create a file assets/styles.scss -
@import "layout/layout.scss";
Create a new file styles/layout/layout.scss and add below content.
@import "./_variables";
@import "./_mixins";
@import "./_preloading";
@import "./_main";
@import "./_topbar";
@import "./_config";
@import "./_content";
@import "./_footer";
@import "./_responsive";
@import "./_utils";
@import "./_typography";
The individual files will have some custom styling elements - you will find them in the repo here. Again, all the circus with styling is not quite necessary for the simple app we are building, but is simply included to force a structured approach.
Start server with the command pnpm run dev and you should see the following screen.

Home Page & Navigation
Add a navigation bar to the app. Create a new file components/NavbarAnon.vue and add below content. I used Anon suffix to denote that the toolbar is for anonymous user - I have found it easier to have a separate toolbar for logged-in users (not quite relevant here).
<template>
    <Toolbar class="layout-topbar">
        <template #start>
            <NuxtLink to="/">
                <NuxtImg alt="logo" src="../assets/images/todo-logo.png" sizes="150vw sm:100vw md:200vw" class="mr-2" />
            </NuxtLink>
        </template>

        <template #end>
            <i class="pi pi-question-circle"></i>
        </template>
    </Toolbar>
</template>

<script setup>
import Toolbar from 'primevue/toolbar';
</script>
Create a default layout for the app with a new file layouts/default.vue and add below content.
<template>
    <div>
        <NuxtLoadingIndicator />
        <NavbarAnon />
        <div class=layout-main-container>
            <div class=layout-main>
                <slot></slot>
            </div>
        </div>
        <Footer></Footer>
    </div>
</template>
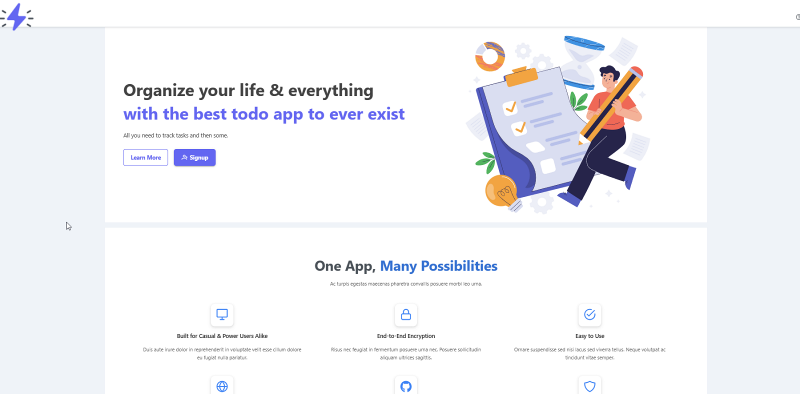
Create the home page pages/index.vue and add below content.
<template>
    <div class="grid">
        <div class="col-12">
            <Hero />
        </div>
        <div class="col-12 mt-12" id="features">
            <Features />
        </div>
        <div class="col-12 mt-12">
            <div class="surface-section px-4 py-8 md:px-6 lg:px-8">
                <div class="text-700 text-center">
                    <div class="text-900 font-bold text-5xl mb-3">What are you waiting for? It's free for individual use!
                    </div>
                    <div class="text-700 text-2xl mb-5">Experience the task organizing super power</div>
                    <Button label="Sign up" icon="pi pi-discord"
                        class="font-bold px-5 py-3 p-button-raised p-button-rounded white-space-nowrap"></Button>
                </div>
            </div>
        </div>
    </div>
</template>
The page will use the default layout. The individual components are not much to speak about - you will find them in the repo.
You should now see a nice looking home page at http://localhost:3000.
I did include a second layout for the logged-in user in the repo, but am not discussing that here (useful in cases where I need a different toolbar, sidebar navigation for the actual app, for example).
Setup Drizzle & Data Migrations
Let us setup Drizzle ORM and Drizzle Kit. The latter is used for migrations and other admin tasks.
pnpm i drizzle-orm better-sqlite3
pnpm i -D drizzle-kit
Create a new file drizzle.config.js and add below content.
export default {
  schema: "./data/schema_*.js",
  out: "./data/migrations",
  driver: "better-sqlite",
  dbCredentials: {
    url: "./data/data.db",
  },
};
The schema file is going to be used by default by Drizzle CLI. While we do the actual migrations, all we need to do is pnpm exec drizzle-kit generate:sqlite and the migration files are automatically created in the out folder. We will see this in action in a second.
First, let us create a simple table. Create a new file ./data/schema_user.js and add below content.
import { sqliteTable, integer, text } from "drizzle-orm/sqlite-core";
import { sql } from "drizzle-orm";

export const user = sqliteTable("user", {
  id: integer("id").primaryKey(),
  firstName: text("first_name"),
  lastName: text("last_name"),
  email: text("email").unique(),
  created: text("created").default(sql`CURRENT_TIMESTAMP`),
  updated: text("updated").default(sql`CURRENT_TIMESTAMP`),
});
Let us also create the table for our todos. Create a new file ./data/schema_todo.js and add below content.
import { sqliteTable, integer, text } from "drizzle-orm/sqlite-core";
import { sql } from "drizzle-orm";

export const todo = sqliteTable("todo", {
  id: integer("id").primaryKey(),
  firstName: text("title"),
  lastName: text("status"),
  created: text("created").default(sql`CURRENT_TIMESTAMP`),
  updated: text("updated").default(sql`CURRENT_TIMESTAMP`),
});
Create the migration file.
pnpm exec drizzle-kit generate:sqlite
You could also suffix --out data/migrations --schema data/schema_user.js if you want to be explicit about the output folder and schema file.
Run the migration.
pnpm exec drizzle-kit push:sqlite
You can see browse the SQLite database and see the table created using the Drizzle tool (pnpm exec drizzle-kit studio & point the browser at the URL), or using a tool like DB Browser for SQLite.
Creating the Server API
Nuxt is great for the frontend, but also features a full-fledged node server / framework based on h3.
We will use this server to create a test API.
Create a new file server/api/hello.js with below content -
export default defineEventHandler((event) => {
  return { message: "Hello world!" };
});
You can also use the nuxi command to generate the api.
pnpx nuxi generate api hello
When your Nuxt server is running, you can hit this route at http://localhost:3000/api/hello to see the response.
Now that we know the server works, let us create our first API. Create a new file server/api/user-exists.js and add below content.
import { user } from "~/data/schema_user";
import { db, sqlite } from "../dbservice";
import { eq } from "drizzle-orm";

export default defineEventHandler(async (event) => {
  try {
    const body = await readBody(event);
    console.log(
      "Initiated user find. Got body: ",
      body,
      " and search param: ",
      body?.email
    );

    const resp = await db
      .select()
      .from(user)
      .where(eq(user.email, body?.email || ""))
      .get();

    console.log("Search results:", resp);

    if (resp?.id != undefined) return { userExists: true };
    else return { userExists: false };
  } catch (e) {
    console.error("Error: ", e);
    throw createError(500, e);
  }
});
The code is self explanatory -
- We collect the
bodyfrom incoming message to get email - Search for the user in the database with Drizzle.
dbserviceis a simple wrapper around Drizzle to make the connections and queries simpler - Return a response with
userExistsflag
Create a new file server/dbservice.js and add below content.
import { drizzle } from "drizzle-orm/better-sqlite3";
import Database from "better-sqlite3";

export const sqlite = new Database("data/data.db");
export const db = drizzle(sqlite);
Use your favourite REST client to test the API. Pass in a JSON body with email and you should see a response with userExists flag.
Input -
{
    "email": "a@a.com"
}
Output -
{
    "userExists": false
}
Add User Registration/Login Page
Create a new file pages/signup.vue and add below content.
<script setup>

const email = ref('');
const password = ref('');
const userExists = ref(false);

async function checkUserExists() {
    const { data } = await useFetch('/api/user-exists', {
        method: 'POST',
        body: JSON.stringify({ email: email.value })
    });
    console.log('checkUserExists data: ', data);
    userExists.value = data.userExists;
}
async function createUser() {
    const { data } = await useFetch('/api/user-create', {
        method: 'POST',
        body: JSON.stringify({ email: email.value })
    });
    console.log('createUser data: ', data);
    userExists.value = data.userExists;
    await navigateTo('/dashboard')
}
</script>

<template>
    <div class="surface-ground flex align-items-center justify-content-center ">
        <div class="flex flex-column align-items-center justify-content-center">
            data:{{ data }}
            <img src="../assets/images/todo-logo.png" alt="todo app" class="mb-5 w-6rem flex-shrink-0" />
            <div
                style="border-radius: 56px; padding: 0.3rem; background: linear-gradient(180deg, var(--primary-color) 10%, rgba(33, 150, 243, 0) 30%)">
                <div class="w-full surface-card py-8 px-5 sm:px-8" style="border-radius: 53px">
                    <div class="text-center mb-5">
                        <i class="pi pi-user" style="font-size: 2.5rem"></i>
                        <div class="text-900 text-3xl font-medium mb-3">Hello Chief!</div>
                        <span class="text-600 font-medium">Are you ready to get organized?</span>
                    </div>

                    <div>
                        <label for="email1" class="block text-900 text-xl font-medium mb-2">Email</label>
                        <InputText id="email1" type="text" placeholder="Email address" class="w-full md:w-30rem"
                            v-model="email" @change="checkUserExists" />
                        <div class="flex align-items-center justify-content-between mb-5 gap-5">
                            <small>Login if your user/email id is found. Else, just create one!</small>
                        </div>

                        <label for="password1" class="block text-900 font-medium text-xl mb-2"
                            v-if="userExists">Password</label>
                        <Password id="password1" v-model="password" placeholder="Password" :toggleMask="true"
                            class="w-full mb-3" inputClass="w-full" :inputStyle="{ padding: '1rem' }" v-if="userExists">
                        </Password>

                        <Button label="Signup / Login" class="w-full p-3 text-xl" @click="createUser"></Button>
                    </div>
                </div>
            </div>
        </div>
    </div>
</template>
You now have a registration / login page.
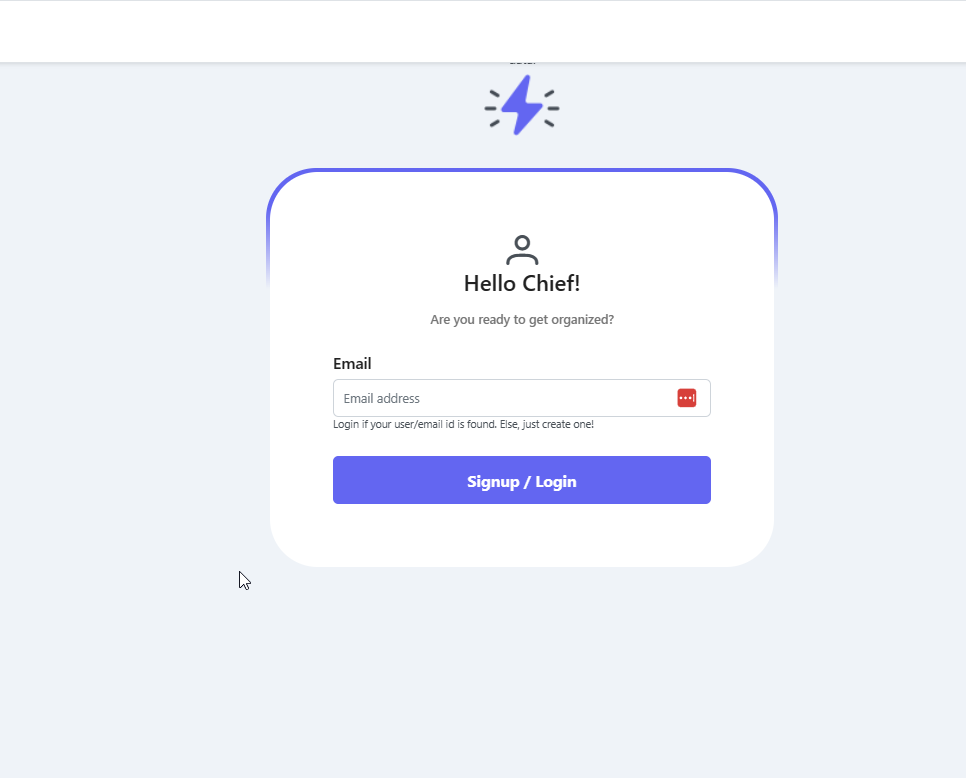
Go ahead and enter any email id and you are registered! We will not be adding a full-fledged login function in this post (we need to use some sort of auth library like Lucia to do that).
You may be wondering on why registration and login functions are combined and not two separate pages. You cannot go wrong with either, but the common page is advantageous when you support different types of authentication (e.g., Google, Facebook, custom etc.).
Add Todo API
Create two new APIs to handle get and post. We will use “proper” conventions this time around.
First, create a new file server/api/todo.get.js and add below content.
import { todo } from "~/data/schema_todo";
import { db } from "../dbservice";

export default defineEventHandler(async (event) => {
  try {
    const resp = await db.select().from(todo).all();

    console.log("Search results - todo:", resp);

    return resp;
  } catch (e) {
    console.error("Error: ", e);
    throw createError(500, e);
  }
});
todo.get.js will handle requests to get all todo’s. If there was a need to get a specific todo, I would create a similar file server/api/[id].get.js and handle the request there.
Let us also code to handle post - create a new file server/api/todo.post.js and add below content.
import { todo } from "~/data/schema_todo";
import { db } from "../dbservice";
import { eq } from "drizzle-orm";

export default defineEventHandler(async (event) => {
  try {
    const body = await readBody(event);
    console.log("todo body: ", body);
    const newTodo = { ...body };
    const resp = await db.insert(todo).values(newTodo).run();
    console.log("inserted todo: ", resp);

    const todoResp = await db
      .select()
      .from(todo)
      .where(eq(todo.id, resp?.lastInsertRowid))
      .get();

    return todoResp;
  } catch (e) {
    console.error("Error: ", e);
    throw createError(500, e);
  }
});
Key points to note -
const newTodo = { ...body }may be useless in this situation, but is more relevant when using types or performing validations on the incoming message- The
insertfunction returns a response withlastInsertRowid- we use that to get the newly created todo and return it to the caller. Calling function in client will use the data to update the UI. Again, the relevance may be lost here, but is a good practice since database commit may populate fields, add timestamps etc. and the client needs the updated info
Add Todo Page
Create a new file pages/dashboard.vue and add below content.
<script setup>
import { ref } from 'vue';

const todos = reactive({});
const title = ref('');

async function getTodos() {
    const { data } = await useFetch('/api/todo');
    console.log('getTodos data: ', data);
    todos.value = data;
}
async function createTodo() {
    const { data } = await useFetch('/api/todo', {
        method: 'POST',
        body: JSON.stringify({ title: title.value, status: 'in progress' })
    });
    console.log('createTodo data: ', data);
    todos.value.push(data);
}
// execute getTodos on mounted
onBeforeMount(() => {
    console.log('Fetching todos..');
    getTodos();

})
</script>

<template>
    <div class="grid">
        <div class="col-12">
            <div class="card">
                <h5>Add Todo</h5>
                <div class="field p-fluid">
                    <label for="title">Description</label>
                    <InputText id="title" type="text" v-model="title" />
                </div>
                <div class="col-12">
                    <Button @click="createTodo">Add</Button>
                </div>
            </div>
        </div>


        <div class="col-12">
            <div class="card p-fluid">
                <h5>My Todos</h5>
                <div v-if="!todos && todos.value.length <= 0">
                    No todos yet.
                </div>
                <DataView :value="todos.value" v-else>
                    <template #list="slotProps">
                        <div class="col-12">
                            <div class="flex flex-column xl:flex-row xl:align-items-start p-4 gap-4">
                                <div class="text-2xl font-bold text-900">{{ slotProps.data.title }}</div>
                            </div>
                        </div>
                    </template>
                </DataView>
            </div>
        </div>
    </div>
</template>
This page will allow user to create new todo’s and also query the API for todo’s.

Note that-
- We have used
onBeforeMountto execute thegetTodosfunction on page load. WhileonMountedis the more common way to do this,onBeforeMountgets triggered for page refreshes as well DataViewandDataTablein PrimeVue makes it quite easy to display list data. I have usedDataViewhere, butDataTablecan be more beneficial for larger data sets- Typical apps need some validation on the forms - both on the page and on the server. I have not included that here for brevity
And, that’s a wrap for today, folks.
Conclusion
- Nuxt can easily be a full-stack app
- I cannot get myself to like Nuxt as the go-to full stack app
- I am spoilt by the ease-of-use of a server framework - middleware, routes, controller/service included
- My typical servers include functions that are not covered here and would need separate treatment anyway - e.g., batch processing / scheduled jobs
- Server/client architecture looks cleaner to read / code
- I perceive the typical server/client segregation to be easier to maintain without forcing a hard push for all concerns
- Also in other news-
- I have come to admire
Drizzlebut cannot get over the intuitiveness ofknex. Also, I have come to fear the sometimes drastic changes happening in smaller libraries across versions - PrimeVue will probably be my new library of choice (was Vuetify earlier)
- I have come to admire
I keep looking for “one perfect way” to get things done faster (I am more of a casual developer), but that is still in the future I guess.