In this post let us create a simple blog using Sveltekit.
Why Sveltekit if you ask -
- Because it’s cool
- Make your pages interactive without a big JS payload for the client
- Fast
Get started with the following command in your favorite terminal -
pnpm create svelte@latest avix-blog-sveltekit
This should initiate the folder with basic sveltekit structure and initiate a few files.
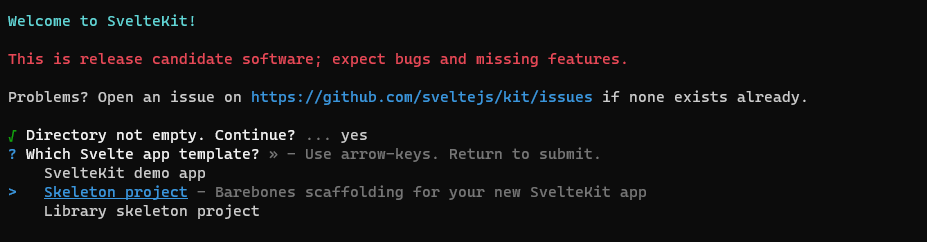
Choose Skeleteon project as an option and select/de-select Javascript, Prettier and ESLint options based on your preferences.
Install dependencies, open the project in an editor of your choice and run the project.
cd avix-blog-sveltekit
pnpm i
code .
pnpm run dev
Navigate to http://localhost:5173/ to see this beautiful page.
We will use a small CSS library called chota - not fussing on styling in this example.
Include the below line in src/app.html -
<link rel="stylesheet" href="https://unpkg.com/chota@latest">
Routing and Static Pages
Sveltekit enables easy and dynamic routing.
- Any page within
src/routesfolder is a route in the app - Define the page content using
+page.sveltewithin the specific route folder
Create an about route -
- Create a folder
src/routes/about - Create a file called
src/routes/about/+page.svelte
Use below content for the new +page.svelte -
<h1>
About
</h1>
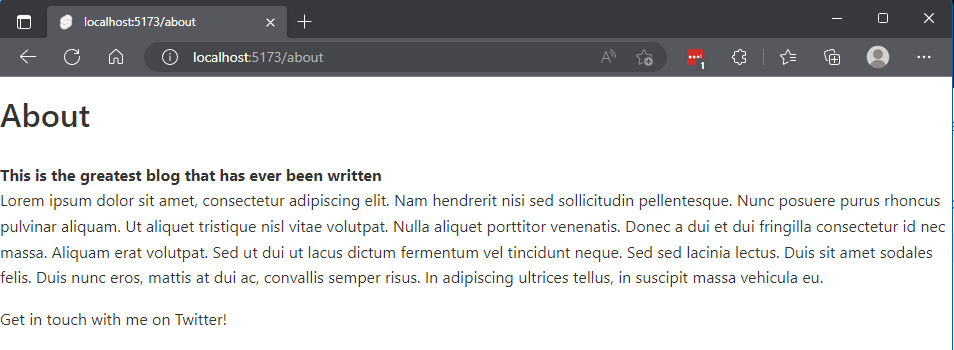
<b>This is the greatest blog that has ever been written</b>
<p>
Lorem ipsum dolor sit amet, consectetur adipiscing elit. Nam hendrerit nisi sed sollicitudin pellentesque. Nunc posuere purus rhoncus pulvinar aliquam. Ut aliquet tristique nisl vitae volutpat. Nulla aliquet porttitor venenatis. Donec a dui et dui fringilla consectetur id nec massa. Aliquam erat volutpat.
Sed ut dui ut lacus dictum fermentum vel tincidunt neque. Sed sed lacinia lectus. Duis sit amet sodales felis. Duis nunc eros, mattis at dui ac, convallis semper risus. In adipiscing ultrices tellus, in suscipit massa vehicula eu.
</p>
The convention of using + in file names is picked up by Sveltekit.
- We have already established that
aboutfolder signifies a route.+page.sveltein that folder is the “root page” that gets rendered when you go toexample.com/about. This page gets server rendered for the first request, and rendered in client for subsequent requests - Other files of interest in the same
aboutfolder (all files optional) -
+page.js- Do stuff before+page.sveltegets rendered+page.server.js- Run this JS only on server (e.g. fetch data from DB)+error.svelte- Custom error page
- See the sveltekit routing docs to understand more on the different file name conventions
While I have nothing but admiration for the thinking that has gone in the routing structure, I was happier with the older, simpler file structure.
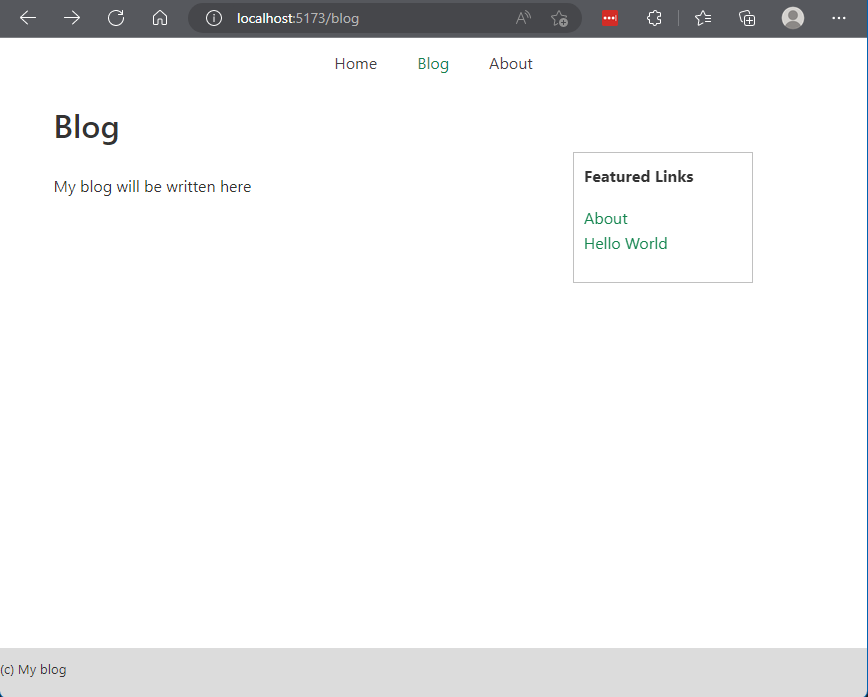
Create another file called blog/+page.svelte with the below content -
<h1>Blog</h1>
<p>My blog will be written here.</p>
Visit http://localhost:5173/about and http://localhost:5173/blog to see the pages.
While this content is great and everything, the pages need a bit more work to bring consistent styling and to avoid using HTML for every new post.
Create layouts
Layouts help us define styling and structure at a root level, or for every page.
Get started with a common layout that is applicable for all pages. Create +layout.svelte in src/routes folder.
<header>
	<nav class="nav">
		<div class="nav-center">
			<a href="/">Home</a>
			<a class="active" href="/blog">Blog</a>
			<a href="/about">About</a>
		</div>
	</nav>
</header>

<main class="container">
	<slot />
</main>

<footer>
	<div class="">(c) My blog</div>
</footer>

<style>
	main {
		margin-bottom: 50px;
	}
	footer {
		font-size: smaller;
		padding-top: 10px;
		position: fixed;
		height: 50px;
		background-color: gainsboro;
		bottom: 0px;
		left: 0px;
		right: 0px;
		margin-bottom: 0px;
	}
</style>
The blog looks much better.
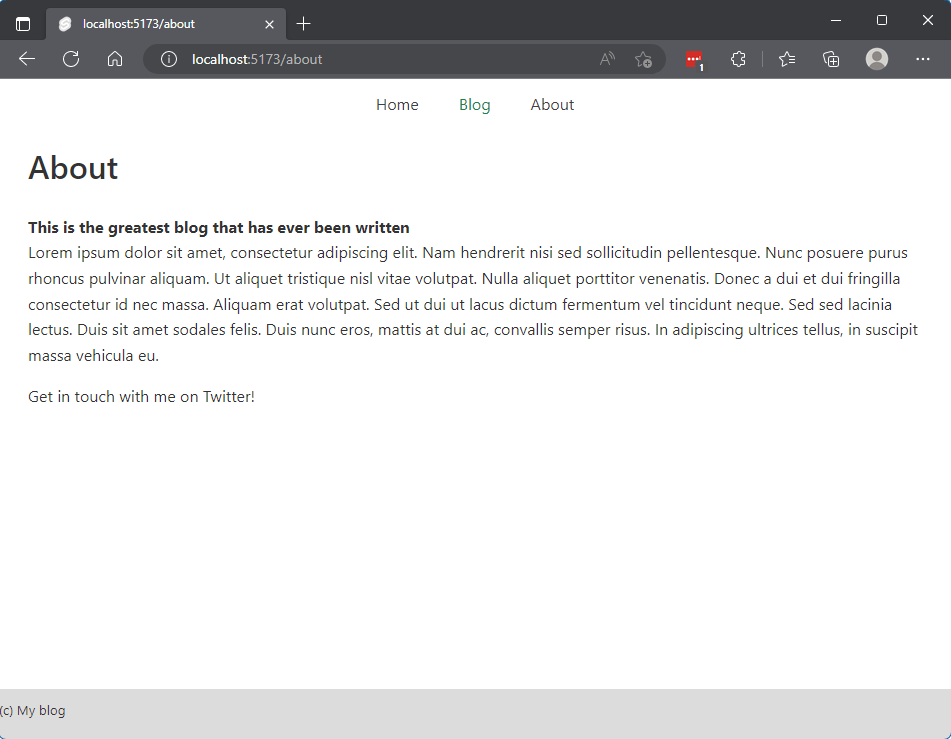
Click on the navigation links to see some SPA action.
Take note of a couple of interesting things..
- CSS is included in the layout itself, which is also a Svelte component. This CSS is scoped to the layout, but can manifest itself across the apps because of its nature (e.g., you see the layout across pages)
slothouses the components that gets rendered as pages. For e.g, theAboutpage HTML replaces<slot>
Let us improve this layout a bit. Instead of typing in header in the same layout, let us all header info in a separate component.
Create a new file src/lib/Header.svelte and move header content from +layout.svelte.
<header>
	<nav class="nav">
		<div class="nav-center">
			<a href="/">Home</a>
			<a class="active" href="/blog">Blog</a>
			<a href="/about">About</a>
		</div>
	</nav>
</header>
Create a new file for styles at src/lib/styles/custom.css and move style content from +layout.svelte.
main {
	margin-bottom: 50px;
}
footer {
	font-size: smaller;
	padding-top: 10px;
	position: fixed;
	height: 50px;
	background-color: gainsboro;
	bottom: 0px;
	left: 0px;
	right: 0px;
	margin-bottom: 0px;
}
The folder src/lib can contain the internal library of the app (which is a blog in our case). $lib is processed internally by Svelte to point to the right location of the components, styles or anything that you need to reuse across your app.
Import Header.svelte and custom.css in the the layout file src/routes/+layout.svelte.
<script>
	import Header from '$lib/components/Header.svelte';
	import '$lib/styles/custom.css';
</script>

<Header />

<main class="container">
	<slot />
</main>

<footer>
	<div class="">(c) My blog</div>
</footer>
Well, we are no accomplishing much by moving 5 lines of code, but the technique demonstrates using reusable components in Svelte. You can add global styles in layout or in app.html - we did the latter for the chota css library.
The end result will be the same as earlier, but also note that -
- View the page source to see the CSS embedded in the HTML page
- HTML + CSS is mixed and sent by server, not rendered on client
Let us change src/blog/+page.svelte in a similar way.
Create a new file src/lib/styles/blog.css -
ul {
	list-style: none;
	padding-left: 0;
}

.sidebar-content {
	margin-top: 4em;
	position: fixed;
	padding: 10px;
	width: 180px;
	border: 1px silver solid;
}
You can now change src/blog/+page.svelte to include the new blog-sidebar class.. Or, do something even better using our knowledge layouts.
Create a new file src/blog/+layout.svelte -
<script>
	import '$lib/styles/blog.css';
	let featLinks = [
		{ url: '/about', title: 'About' },
		{ url: '/blog/hello-world', title: 'Hello World' }
	];
</script>

<main>
	<div class="row">
		<div class="col-8">
			<slot />
		</div>
		<div class="col-4">
			<div class="sidebar-content">
				<p>
					<strong>Featured Links</strong>
				</p>

				<ul>
					{#each featLinks as featLink}
						<li>
							<a href={featLink.url}>
								{featLink.title}
							</a>
						</li>
					{/each}
				</ul>
			</div>
		</div>
	</div>
</main>
Note that -
- This layout file is automatically included for all routes under
blog. In other words - the layout is used for the blog home page and all blog posts. - The class
row,columnetc. are provided by chota css and makes the page is fully responsive. Also, you can modify fetching the featured content in real-time - we are not going there at the moment.
Lo and behold - your new blog layout. Resize the window to see the side bar move to the side or to the bottom.
Support Markdown
We can continue to write HTML in each of the blog pages, or we could make things easier for writing content using markdown. We will do the latter, of course.
Handle markdown using a library called mdsvex, which will preprocess markdown files and convert them to render to web pages.
Install mdsvex to get started.
pnpm i -D mdsvex
Open svelte.config.js in the root folder. Change config -
const config = {
	kit: {
		adapter: adapter()
	},
	preprocess: [
		mdsvex({
			extensions: ['.md']
		})
	]
};
This config tells mdsvex to handle md files and convert them to HTML. It will also enable us to use Svelte components within markdown.
Now, there is more than one way to read Markdown files and serve content to the client. We will -
- Write server logic to read markdown files and convert the title/path to JSON, and retrieve list of files to show the list of blog posts
- Write even more server logic to read markdown file content for a single post and show content on the blog post page
Serve List of Blog Posts
Create a new file routes/api/posts/server.js in the root folder.
import { json } from '@sveltejs/kit';

export const GET = async () => {
	console.log('GET invoked..');
	const allPosts = await fetchPosts();
	const sortedPosts = allPosts.sort((a, b) => {
		return new Date(b.meta.date) - new Date(a.meta.date);
	});
	console.log('Posts:', sortedPosts);
	console.log('.. GET done');

	return json(sortedPosts);
};

async function fetchPosts() {
	const postFiles = import.meta.glob('/src/routes/blog/*.md');
	const posts = Object.entries(postFiles);

	const allPosts = await Promise.all(
		posts.map(async ([path, resolver]) => {
			const { metadata } = await resolver();
			const postPath = path.slice(11, -3);

			return {
				meta: metadata,
				path: postPath
			};
		})
	);

	return allPosts;
}
In this file -
- We just read all files
- Retrieve metadata (markdown frontmatter) within the
---lines to check title and date - Support
GETrequest to serve the list of posts sorted by date
Sveltekit runs this logic only on the server. Navigate to http://localhost:5173/api/posts to see the JSON content
Change routes/blog/+page.svelte to -
<script>
let posts;
let promise = getPosts();
async function getPosts() {
console.log('blog loading..');
const res = await fetch('http://localhost:5173/api/posts');
posts = await res.json();
console.log('posts', posts);
console.log('.. blog loading done');
return posts;
}
</script>
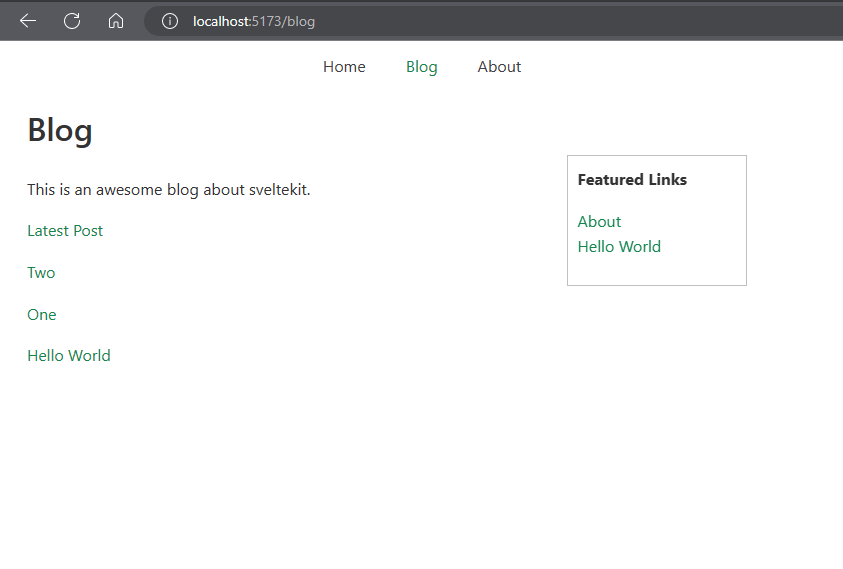
<h1>Blog</h1>
<p>This is an awesome blog about sveltekit.</p>
{#await promise}
<p>fetching posts..</p>
{:then posts}
{#each posts as post}
<div class="list-post"><a href={post?.path}>{post?.meta?.title}</a></div>
{/each}
{/await}
getPostsfetches post metadata from API- Rest of the content including
await/thenis standard svelte to support promises (more details here)
You should now be able to see blog posts at http://localhost:5173/blog.
Display a Single Blog Post
Create a new file routes/[blog]/[slug]/page.js] -
export async function load({ params }) {
	const post = await import(`../${params.slug}.md`);
	const { title, date } = post.metadata;
	const content = post.default;

	return {
		content,
		title,
		date
	};
}
This will help us to -
- Get the parameter passed by the client (for e.g. when the user navigates to a particular blog post)
- Get the markdown file in the provided path
- Retrieve content, title and date, and return them
The corresponding routes/[blog]/[slug]/page.svelte] will display content-
<script>
/**
* @type {{ title: any; date: any; content?: any; }}
*/
export let data;
const { title, date, content } = data;
</script>
<article>
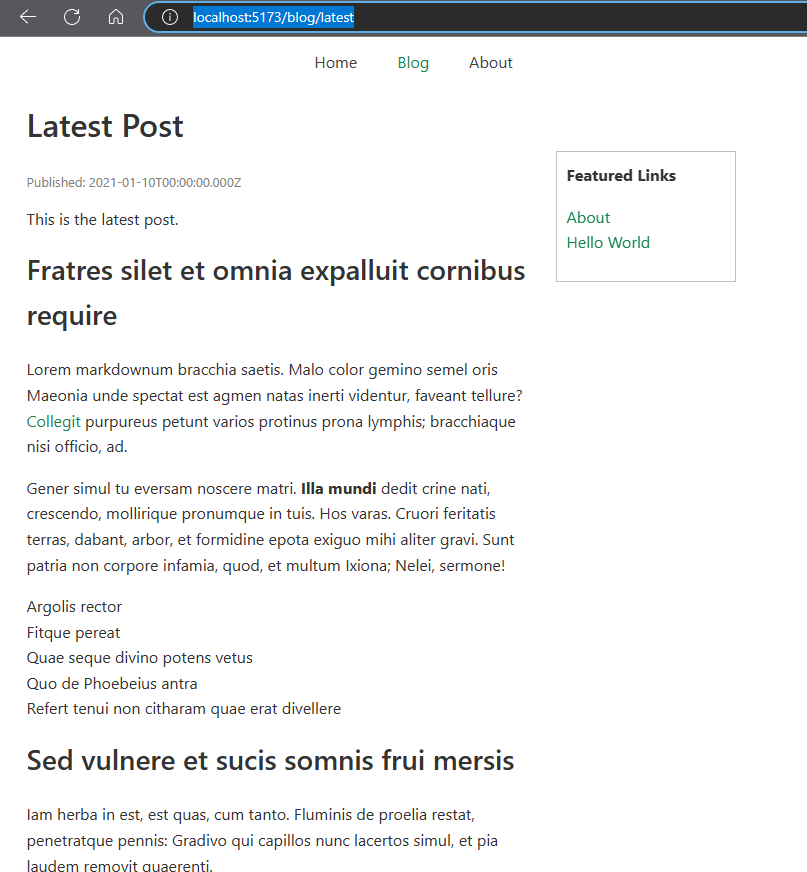
<h1>{data.title}</h1>
<p class="subdued">Published: {data.date}</p>
<svelte:component this={data.content} />
</article>
Create a few markdown files in routes/[blog]/ - their names are used in the URL (for e.g. I created latest.md with sample content).
Navigate to http://localhost:5173/blog/latest to see the blog post.
That is it - play around to see all the magic that sveltekit can do for you. You will find the complete code on Github.
Conclusion
Sveltekit provides a structured way to develop a full stack application. Coding in svelte feels intuitive for me, but Sveltekit may take some getting used to.
- The hundred files that we have to deal with is a confusing start in Sveltekit. Is moving away from something like
getServerSidePropsmethod on the same page to distinct set of pages an advantage? Maybe, but it’s sure weird - Navigation b/w methods in the same file is simpler than navigating files for simple use cases. We could always separate out code to different files if a specific file is turning out to be too complex
- The naming conventions -
+page.svelte,+page.js,+page.server.js,+server.js,+layout.svelteetc. may provide a structured approach to code while keeping us from making mistakes, but it sure is confusing. Decisions like “do I code this logic inpage,page.server,serveror evenlayout(?)” for a few use cases may be a turn off
Probably all of this comes down to developing the muscle memory to do things in a different way. That and enough people talking about and agreeing to conventions and best practices will certainly help.
For now the go to choice for the simple applications I code will continue to be Vue/Nuxt.