Welcome to 2021. For me this will be an exciting year when I embrace ReactJS and Svelte as friends. And, what better way to start with React than NextJS..? In this post, we will see why and how we can get started on NextJS, and a few good learning resources.
But, why?
- React continues to be a leader with ~50% market share. It enjoys a lot of developer confidence, community contribution and widespread adoption
- More users have meant more support for the smallest of issues
- React and associated frameworks have been at the forefront of new developments - that may be in the way pages interact with data (Hooks, Suspense), in how front-end gets/updates data (React Server Components), or how the latest technologies can speed up development and enable you to use hybrid frameworks to get things done (Next)
Vue will not be completely replaced in my toolbox - not unless I find a shiny new thing that can completely replace it. In today’s world everyone learns from each other and adapts rather quickly - so that scenario is not likely to play out.
Why Next?
- Next is a hybrid framework. From the same code base you can -
- fetch content and generate pages on the server-side at runtime. Rapidly changing sites incl. eCommerce sites.
- enable client-side data fetching for classic single page applications
- generate static sites. Just fetch data and create final HTML pages at build time. Useful for Blogs, documentation sites. Oor, go rogue with incremental static files that can generate pages and hold on to them for specified time (I love this!)
- Built-in router that needs you to just create pages to enable routing. Not really a problem in the Vue world (Vue router becomes second nature), but I see React as more fragmented. Router in Next is easy to understand and scale
- Many features that optimize applications incl. code splitting, ability to use HTML or JSON to deliver pages, and so on
- Many, many features that make development of large apps easier
- Super active development and large community.
How to get started?
Here’s the complicated ceremonty to initiate a Next project.
- Install NodeJS
- Enter command
npx create-next-app do-awesome
Run your app with npm run dev to meet this screen.
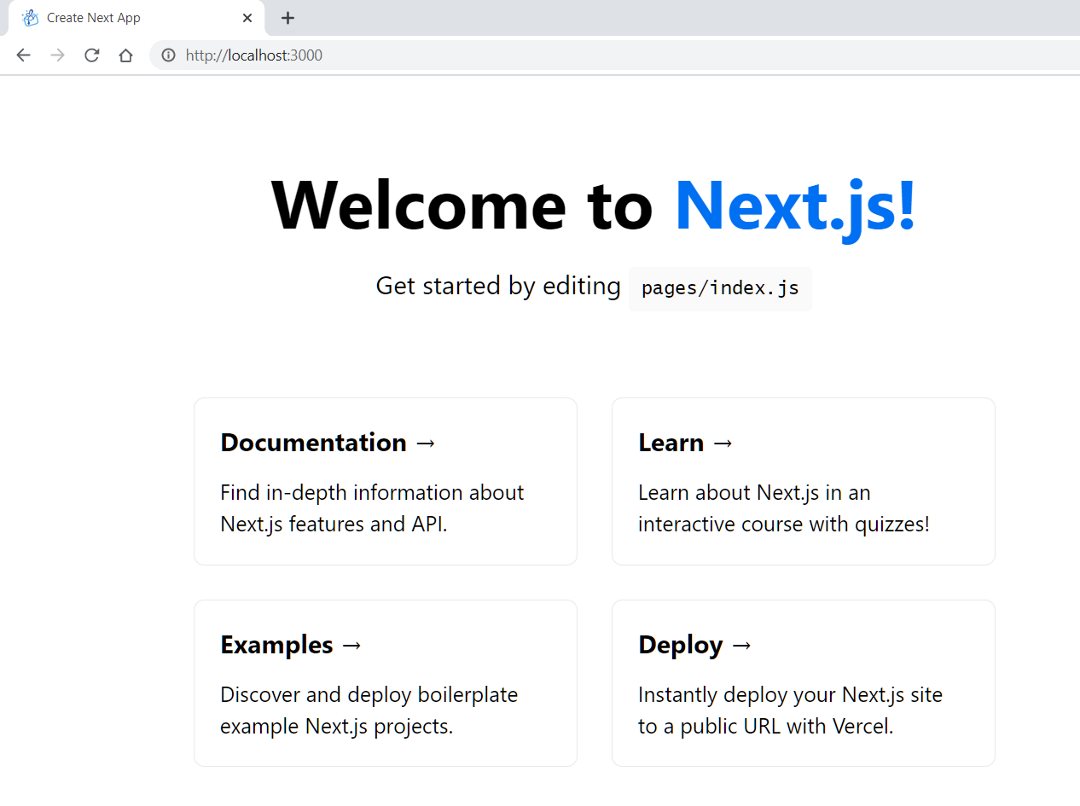
You have the standard SPA development experience - change page content to see the changes reflected immediately.
- Add new page
pages/todo.js - Enter below code -
export default function Todo() {
  return <h3>Todo Awesome</h3>;
}
Navigate to http://localhost:3000/todo to see the new page.
Let’s write some simple code in todos.
function Todo({ todos }) {
return (
<div>
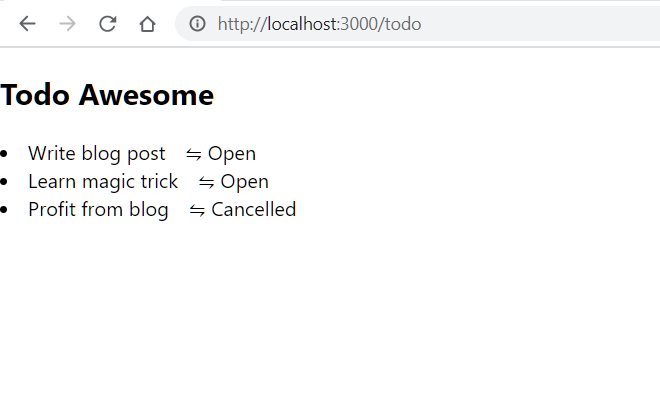
<h2>Todo Awesome</h2>
{todos.map((todo, index) => (
<li key={index}>
{todo.description} ⇋ {todo.status}
</li>
))}
</div>
);
}
export function getServerSideProps() {
const todos = [
{ description: "Write blog post", status: "Open" },
{ description: "Learn magic trick", status: "Open" },
{ description: "Profit from blog", status: "Cancelled" },
];
return {
props: { todos },
};
}
export default Todo;
We did good in a few lines of code -
- Created some static data in
todosas part ofgetServerSidePropsand returned that asprops getServerSidePropsgets executed for every function call, i.e., everytime we visit the route/todos. Rendering functionTodogets the data passed in as propsTodotakes care of rendering the todos
Rather simple and elegant.
Add Styles
There is more than one way to do things in Next, just like in React - unfortunately. I follow three distinct patterns.
Global or Module Level Styles
Include CSS in styles > global.css for all styles applicable globally. Similarly, <your-page>.module.css gets applied to <your-page>.
There’s nothing preventing you from going old school and simple do -
import "../styles.css";
.. in any component, but the previous pattern is simpler to use.
Global or Module Level CSS with CDN
Use the Next <Head></Head> tag anywhere - in _app for global styles or in any modules. Introduce CSS within the HEAD component.
Let us go ahead and do this for our app. Change _app.js to-
import "../styles/globals.css";
import Head from "next/head";

function MyApp({ Component, pageProps }) {
  return (
    <div>
      <Head>
        <link rel="stylesheet" href="https://unpkg.com/chota" />
      </Head>
      <div className="row">
        <div className="col-1"></div>
        <div className="col-10">
          <Component {...pageProps} />
        </div>
        <div className="col-1"></div>
      </div>
    </div>
  );
}

export default MyApp;
chota is a small CSS framework that provides you some cool things like class-less styling, grids, out-of-the-box icons - good enough for our small project.
Remember that we are dealing with JSX, so we use className instead of class in normal HTML.
Style Libraries from NPM
Install any CSS library through NPM. You can now include the library in _app.js for global styles.
import "bootstrap/dist/css/bootstrap.css";
Add a DB!
Our todo page is static and shows the same data each time. Let us change that.
First, let us add prisma to our project to make database access a breeze.
npm i -D @prisma/cli
npm i @prisma/client
Create a new folder data under project root.
Initialize prisma -
npx prisma init
Prisma CLI creates a few files including -
.envfile (if it doesn’t exist) with a database URLprisma/schema.prismacontains the database connection parameters and DB models
Open prisma/schema.prisma and replace its contents with the below code -
datasource db {
provider = "sqlite"
url = "file:../data/data.db"
}
generator client {
provider = "prisma-client-js"
}
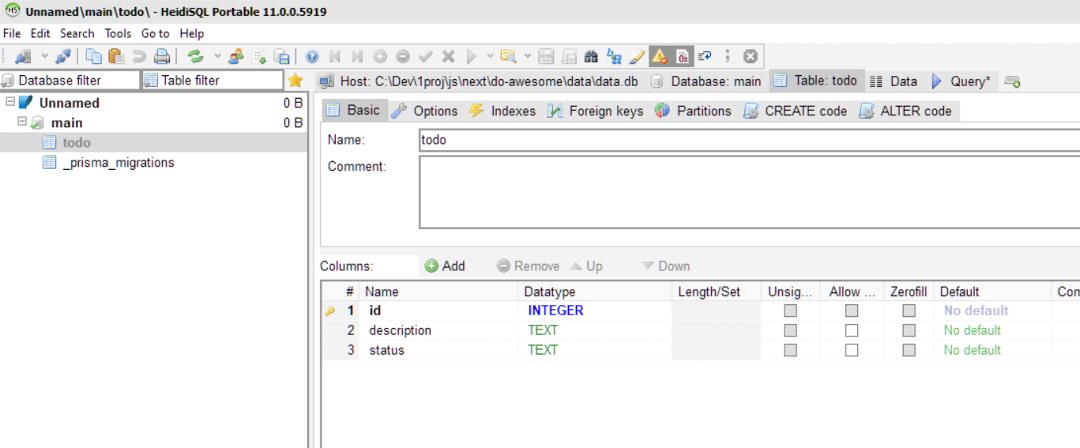
model todo {
id Int @id @default(autoincrement())
description String
status String
}
Run the below command to create migration and sync model to database.
npx prisma migrate dev --preview-feature
preview-feature flag may not be required in later versions of prisma. You can provide any name for the migration.
Finally, run the generate command to generate client that can be used in your application.
npx prisma generate
You can connect to the SQLite database using a client like HeidiSQL and verify whether all your changes are applied to the table.
Or, you could simply do -
npx prisma studio
.. to open the database with a simple UI.
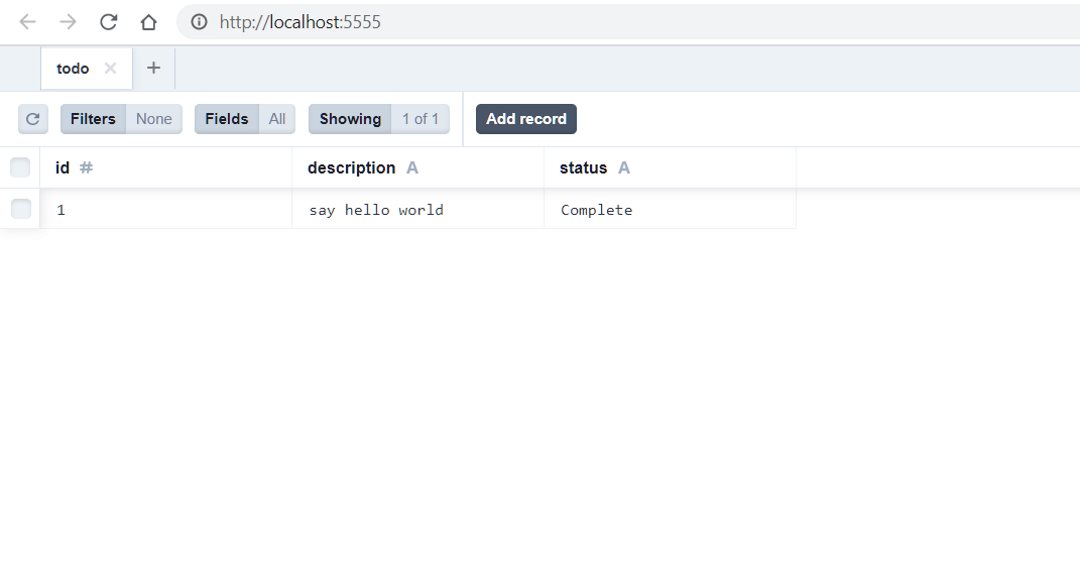
You are all set to work with the SQLite database from Next using Prisma!
Get Todos
Change pages/todos.js -
import { PrismaClient } from "@prisma/client";
const prisma = new PrismaClient();

function Todo({ todos }) {
  return (
    <div className="row">
      <h2 className="col-12 list-title is-center">My Todos</h2>

      <div className="col-12">
        {todoArr.map((todo, index) => (
          <div className="row" key={index}>
            <div className="col-1 list-desc" name="id">
              {todo.id}
            </div>
            <div className="col-5 list-desc" name="description">
              {todo.description}
            </div>
            <div className="col-4">
              <select
                name="status"
                id=""
                value={todo.status}
                onChange={handleStatusChange}
                onBlur={handleSubmit}>
                <option value="Open">Open</option>
                <option value="In Progress">In Progress</option>
                <option value="Cancelled">Cancelled</option>
              </select>
            </div>
          </div>
        ))}
      </div>
    </div>
  );
}

export async function getServerSideProps() {
  const todos = await prisma.todo.findMany({
    orderBy: {
      id: "desc",
    },
  });
  console.log("todos: ", todos);

  return {
    props: { todos },
  };
}

export default Todo;
The above code is straight-forward -
getServerSidePropsincludes logic that executes on the server side when a request is made tohttp://localhost:3000/todos(remember that the file is atpages/todos.js)- Next passes the data from
getServerSidePropsto render functionfunction Todo({ todos }) - We display the
todosdata using JSX
Create/Edit Todos
We need Prisma (i.e., any DB operations) to run on the server. Next makes an easy task of creating backend APIs - no separate server needed (you could have your custom server though).
Create APIs
API: New Todo
Create new file pages/api/todos/index.js with below code -
import { PrismaClient } from "@prisma/client";

const prisma = new PrismaClient();
export default async function handle(req, res) {
  console.log("Processing todo request..");
  const id = req.query.id;
  if (req.method == "GET") {
    res.send("hello");
  } else if (req.method == "POST") {
    const newTodo = await prisma.todo.create({
      data: JSON.parse(req.body),
    });
    res.json(newTodo);
  }
}
Open the Developer Console in Chrome (Ctrl+Shift+i) and enter -
await fetch ('http://localhost:3000/api/todos')`
.. to see “hello” returned. And oh.. we added the actual method to accept data from frontend and create a new record using Prisma. All it took was a couple of lines of code.
API: Update/Delete Todo
While we are here, we will also handle -
- Record-specific deletes (
DELETEmethod that will use/api/todos/1to delete record withid=1) - Record-specific updates (
PATCHmethod to/api/todos/2to update record withid=2)
The depicted URLs are standard REST resource URLs - nothing fancy here.
Create new file pages/api/todos/index.js.
import { PrismaClient } from "@prisma/client";

const prisma = new PrismaClient();
export default async function handle(req, res) {
  const id = req.query.id;
  if (req.method == "DELETE") {
    console.log("Processing todo delete..");
    const todo = await prisma.todo.delete({ where: { id: Number(id) } });
    res.json(todo);
  } else if (req.method == "PATCH") {
    console.log("Processing todo update..");
    const newTodo = await prisma.todo.update({
      data: JSON.parse(req.body),
    });
    res.json(newTodo);
  }
}
You might have noticed one key difference between the GET and POST/DELETE/PATCH. While we coded GET within the page itself, we used api folder to house update operations.
- While
prismawas used in thetodos.jspage,getServerSidePropsexecutes on server. So, we did not have any issues placing backend-specific logic there - Updates are not tied to backend in such fashion. Instead we create APIs in the
apifolder and call them usingfetch
Change UI to Call APIs
Before we go ahead with UI changes, you would have noticed a problem with our file structure. While APIs had index and [id] files grouped under a parent todos, we do not have this structure in the frontend yet. Let’s change that.
Create a new folder pages/todos - this will house all functions for todos. Move pages/todos.js to pages/todos/ and rename it to index.js.
Todo List
Replace current code in pages/todos/index.js with -
import { useState } from "react";
import { PrismaClient } from "@prisma/client";
import Link from "next/link";

const prisma = new PrismaClient();

function Todo({ todos }) {
  const [todoIn, setTodoIn] = useState("");
  const [todoArr, setTodoArr] = useState(todos);

  const handleNewTodoChange = (e) => {
    e.preventDefault();
    setTodoIn(e.target.value);
  };

  const handleSubmit = async (e) => {
    e.preventDefault();
    const res = await fetch("/api/todos", {
      method: "POST",
      body: JSON.stringify({ description: todoIn, status: "Open" }),
    });
    const newTodo = await res.json();
    setTodoArr([newTodo, ...todoArr]);
    setTodoIn("");
  };

  const handleStatusChange = async (e) => {
    e.preventDefault();
    console.log("target", e);

    const res = await fetch("/api/todos", {
      method: "POST",
      body: JSON.stringify({ description: todoIn, status: "Open" }),
    });
    const newTodo = await res.json();
    setTodoArr([newTodo, ...todoArr]);
  };

  const deleteTodo = (todo) => async (e) => {
    e.preventDefault();
    const res = await fetch(`/api/todos/${todo.id}`, {
      method: "DELETE",
    });
    const index = todoArr.indexOf(todo);
    setTodoArr([
      ...todoArr.slice(0, index),
      ...todoArr.slice(index + 1, todoArr.length),
    ]);
  };

  return (
    <div className="row">
      <h2 className="col-12 list-title is-center">My Todos</h2>

      <form className="col-12">
        <div className="row">
          <span className="col-1 list-desc">Add</span>
          <input
            type="text"
            onBlur={handleNewTodoChange}
            className="col-5"
            onChange={handleNewTodoChange}
            value={todoIn}
          />
          <button className="button col-2" onClick={handleSubmit}>
            Save
          </button>
        </div>
      </form>

      <div className="col-12">
        {todoArr.map((todo, index) => (
          <div className="row" key={index}>
            <div className="col-1 list-desc" name="id">
              {todo.id}
            </div>
            <div className="col-5 list-desc" name="description">
              {todo.description}
            </div>
            <div className="col-4">
              <select
                name="status"
                id=""
                value={todo.status}
                onChange={handleStatusChange}
                onBlur={handleSubmit}>
                <option value="Open">Open</option>
                <option value="In Progress">In Progress</option>
                <option value="Cancelled">Cancelled</option>
              </select>
            </div>

            <div className="col-2 icon">
              <button className="button icon-only" onClick={deleteTodo(todo)}>
                <img
                  src="https://icongr.am/feather/delete.svg?size=16&color=93939a"
                  alt="delete"
                />
              </button>
              <Link href={`/todos/${todo.id}`}>
                <button className="button icon-only">
                  <img
                    src="https://icongr.am/feather/edit-2.svg?size=16&color=93939a"
                    alt="edit"
                  />
                </button>
              </Link>
            </div>
          </div>
        ))}
      </div>
    </div>
  );
}

export async function getServerSideProps() {
  const todos = await prisma.todo.findMany({
    orderBy: {
      id: "desc",
    },
  });
  console.log("todos: ", todos);

  return {
    props: { todos },
  };
}

export default Todo;
We have added below features -
- Add an input box and a button to add a new
todorecord. Add functions to handle changes to input and to respond to the click event - Add functions to handle changes to call backend APIs for inserts and deletes, and make corresponding changes on the UI
- Create a button to delete a
todoand call API DELETE method - Create a button to navigate to a detail page upon clicking on any todo (the detail page is implemented in the next section)
Todo Detail
With a couple of functions you have created an app to query ( & display), create and delete todos!
Create a new page pages/todos/[id].js and input below code -
import { useRouter } from "next/router";
import { PrismaClient } from "@prisma/client";
const prisma = new PrismaClient();

export default function Todo({ todo }) {
  const router = useRouter();
  const { id } = router.query;
  return (
    <div className="text-center">
      <h3>
        <strong>{!!todo && todo.description}</strong>
      </h3>
      <p>{!todo && "This todo has migrated to the next universe."}</p>


      <p></p>
    </div>
  );
}

export async function getServerSideProps({ params }) {
  const todo = await prisma.todo.findFirst({
    where: { id: Number(params.id) },
  });
  console.log("todo: ", todo);

  return {
    props: { todo },
  };
}
This page just demonstrates how we could display a single todo on the frontend. We have not added any functionality to it.
What Next?
Find the app code at this Github repo.
You could extend the current app by -
- Introducing update function - status changes should call
PATCHmethod and change UI elements - Enable user to capture thoughts, ideas and other BS against each
todo. Doing this would require you to provide functionality to addcommentsagainst any specifictodo(utilising theDetail page)
Learning Resources
See more of Next and keep rocking.
- Learn NextJS by Vercel, creator of NextJS
- NextJS in 2 hours
- Create a Snippet Manager in Next