AdonisJS provides a really quick way to scaffold your way to a great back-end application.
Let us start creating a simple to-do app called ‘ado’ in this post. We will see how we can create this with simple commands and have your API ready in no time.
Install AdonisJS
Download and install Node if you don’t have it in your system.
Install AdonisJS CLI
npm i -g @adonisjs/cliDownload and install Insomnia REST client. This will be used to test the back-end APIs that we will be creating in AdonisJS
Download Visual Studio Code. This will be your best friend for the next five years.
Create app
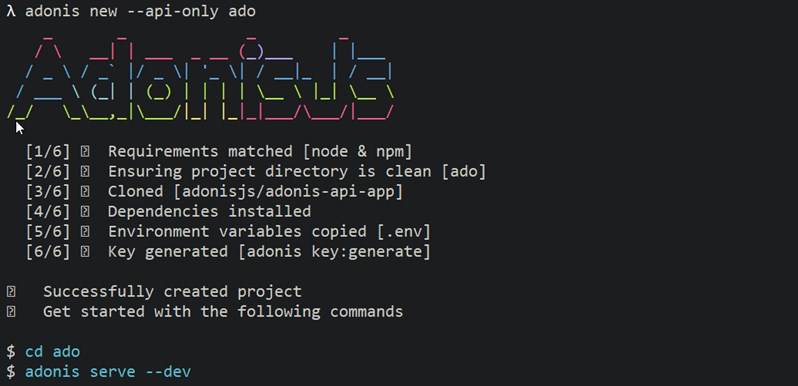
Create a new application using Adonis CLI. This will create a new folder, and copy the starter project to your local machine.
adonis new --api-only ado
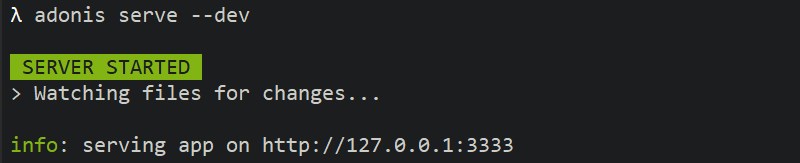
Run app.
cd ado
adonis serve --dev
Open Insomnia app. Create new GET request and enter URL http://localhost:3333. Hit ‘Send’ or press Ctrl + enter, and voila - you get the most beautiful statement that has been ever made.
{
  "greeting": "Hello world in JSON"
}
adonis serve --dev reacts to your changes - it will automatically compile changes and serve the changes without any further action from your end.
Before we go ahead, let us also install one of the database drivers. While you are in ado folder, run -
npm install sqlite3 --save
Create todo and serve it hot
Open ado folder in VSCode. You will see all the files created by Adonis CLI. Take a look at the .env file in the root folder. You can see that the application is using SQLite DB - this is to store whatever important todo data that we create.
Let us create the table script, model, and controller in one go. Open another command prompt and enter-
adonis make:model todo -mc
Output:
√ create  app\Models\Todo.js
√ create  database\migrations\1565159570923_todo_schema.js
√ create  app\Controllers\Http\TodoController.js
The above command will create three files -
- model called
Todoat [ app | Models ] - controller called
TodoController[ app | Controllers | Http ] - a migration script for your table [database | migrations]
Did you see the naming conventions that were automatically applied for you? That is important, don’t monkey around with them - yet.
Also, observe the command window where you had invoked Adonis CLI. Each time a file is created or saved within the project, the CLI restarts server and serves changes.
Make changes to data layer
In VSCode where you had opened the ado folder: navigate to [Database | Migrations] and click on the migration script [e.g. 1546324370000_todo_schema.js]. Replace script with the following -
"use strict";

/** @type {import('@adonisjs/lucid/src/Schema')} */
const Schema = use("Schema");

class TodoSchema extends Schema {
  up() {
    this.create("todos", (table) => {
      table.increments();
      table.timestamps();

      table.string("description");
      table.string("status");
      table.datetime("date");
    });
  }

  down() {
    this.drop("todos");
  }
}

module.exports = TodoSchema;
Go back to command prompt (or use the terminal in VSCode) to execute following command. This will execute the code you introduced above and create a table in your database (which is SQLite in our case).
adonis migration:run
Output:
migrate: 1546324370000_todo_schema.js
Database migrated successfully in 318 ms
Make changes to controller
Open in TodoController.js in VSCode. The controller template provides a starting point.
At the top of the file (but after use strict), introduce the following line -
const Todo = use("App/Models/Todo");
Introduce following code in index() function -
async index() {
    return await Todo.query().fetch();
}
This code will query all available records from todos table through the Todo model. But, we will worry about all that later. The fetched data is returned to the caller.
Now, let us also create some script to create a Todo. Find create function similar to the index function outlined previously and change it to -
async create({ request, response, view }) {
    const data = request.all();

    const newTodo = new Todo();
    newTodo.fill(data);
    newTodo.save();

    return await newTodo;
  }
The controller is doing some interesting things here -
createis taking data fromrequest, which is input to controller. Thisdatagets here all the way from our client request- Create a new record instance using the
Todomodel - Fill the record instance with the data input through the function call
- Save data to the database
- Return the saved data (along with any fields that are automatically filled by Adonis/DB) to the caller
Change Route
Route is nothing but the request URL (with optional arguments). Since there can be multiple entities like Todo that need to be served in real-world, we create multiple routes in a server. Routes are created in start | routes.js in Adonis.
Open routes.js and introduce the following statements -
Route.get("/todo", "TodoController.index");
Route.post("/todo", "TodoController.create");
The GET request is made like so -
http://localhost:3333/todo
When the server receives this request, Adonis will look up /todo in routes, invoke TodoController and the method index therein. The behaviour is similar for a POST request as well.
See your Todo application in action
Go to Insomnia app. Create a new request, set request type to POST, and set URL to http://localhost:3333/todo. Remember that this will do a POST request to the URL specified in your routes.
Enter following input JSON data -
{
  "description": "Create Adonis Todo App",
  "date": "2019-01-01",
  "status": "Done"
}
Hit Send to receive the following output -
{
  "description": "Create Adonis Todo App",
  "date": "2019-01-01",
  "status": "Done",
  "created_at": "2019-01-01 12:46:09",
  "updated_at": "2019-01-01 12:46:09"
}
Observe that a few fields are being automatically populated.
Now, create a new GET request and enter the same URL as POST request. Hit ‘Send’ to receive all todo data in the JSON format.
Congratulations. You have created a quick back-end application in no time using AdonisJS.
Find all code at create-backend-adonis-5min branch on GitHub.